Splunk Enterprise
This integration requires Splunk Enterprise version 8.0.2 .
Configure CORE to forward messages to Splunk Enterprise with this procedure:
- Open the port on the Splunk server.
- Click Settings > Data > Forwarding and Receiving > Configure receiving > Add new (port).
- Enter port 9997.
- Download Splunk Universal Forwarder from:
- Install the downloaded file on the CORE server.
- Configure the Splunk Universal Forwarder on the CORE server:
- Access the executable directory.
- Start Splunk.
- Configure Splunk to start on boot.
- Enable the Splunk service.
- Add the Splunk server.
- Add a monitor, which enables Splunk. You can add additional lines for more log files. This example adds monitors for CORE (ekm.log) and Tomcat (catalina.log). See the CORE Maintenance Guide for more information about CORE logs.
- Restart Splunk.
- Check that configuration worked.
https://www.splunk.com/en_us/download/universal-forwarder.html
cd /opt/splunkforwarder/bin/
sudo ./splunk start --accept-licence
sudo ./splunk enable boot-start
systemctl enable splunk
sudo ./splunk add forward-server <IP Splunk Server>:9997
sudo ./splunk add monitor /opt/ekm/logs/ekm.log
sudo ./splunk add monitor /opt/ekm/logs/catalina.log
sudo ./splunk restart
sudo ./splunk list forward-server
Example response:
Active forwards:
13.53.44.231:9997
Configured but inactive forwards:
None
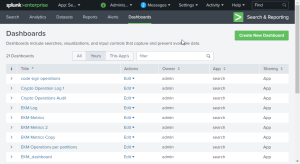
Splunk now monitors the CORE logs. In Splunk, you can create a dashboard to view the CORE logs or search the logs.
For example, the following image shows the available logs in a sample environment. Note that CORE is referred to as "EKM![]() Enterprise Key Management - previous name of the product.".
Enterprise Key Management - previous name of the product.".
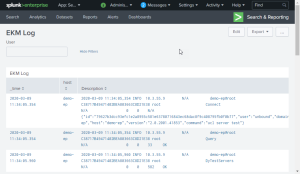
Selecting the EKM![]() Enterprise Key Management - previous name of the product. Log shows:
Enterprise Key Management - previous name of the product. Log shows:
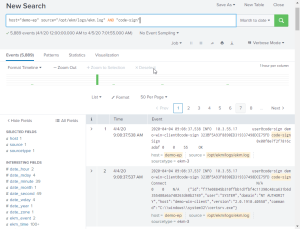
The following search locates any log entry where the host is demo-ep, from the CORE log file, and matching the text code-sign.


